As a mid-income enthusiast who’s hooked on the tactile bliss of typing and gaming, I’ve found that assembling a mechanical keyboard kit is the ultimate way to craft a personalized setup without splurging. These kits, which include essentials like a case, PCB, and plate, let you customize switches and keycaps to match your style. After building several for work and play, I’m sharing my insights on why they’re worth it and how to choose one that fits your budget and preferences.
What Is a Mechanical Keyboard Kit
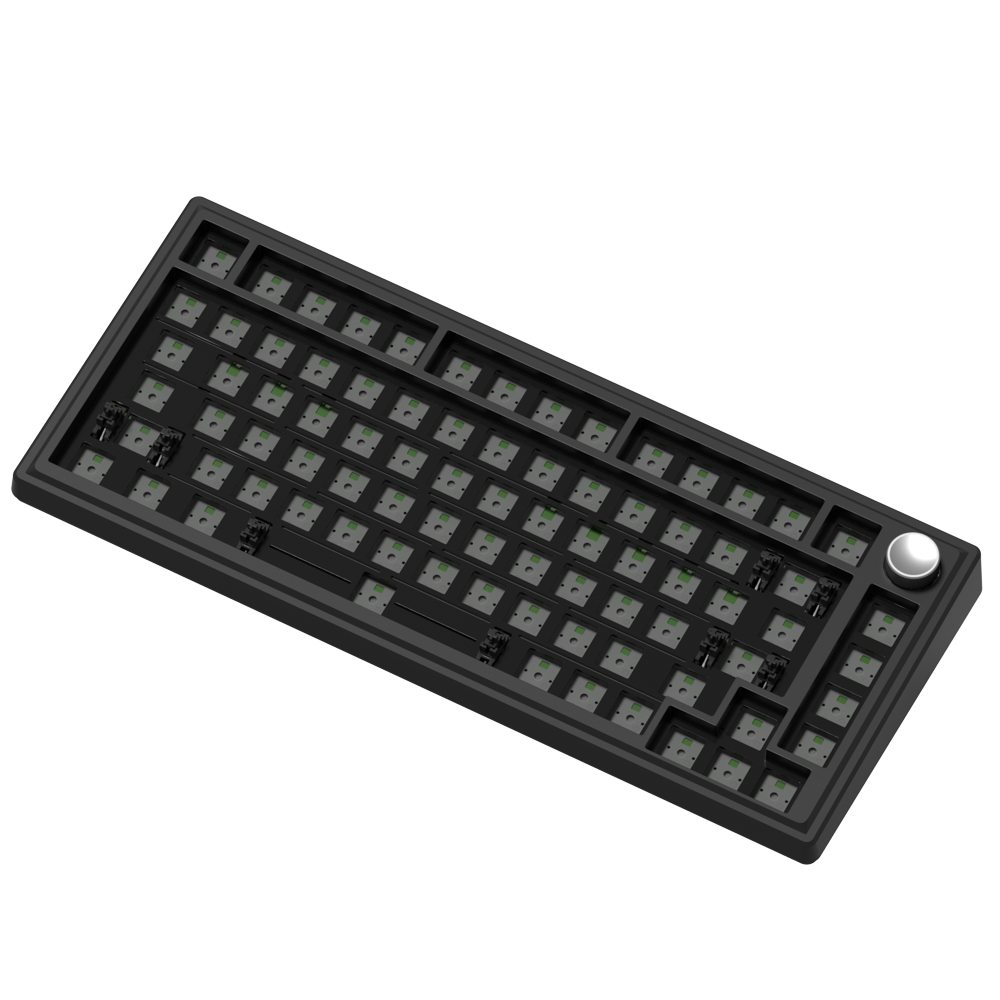
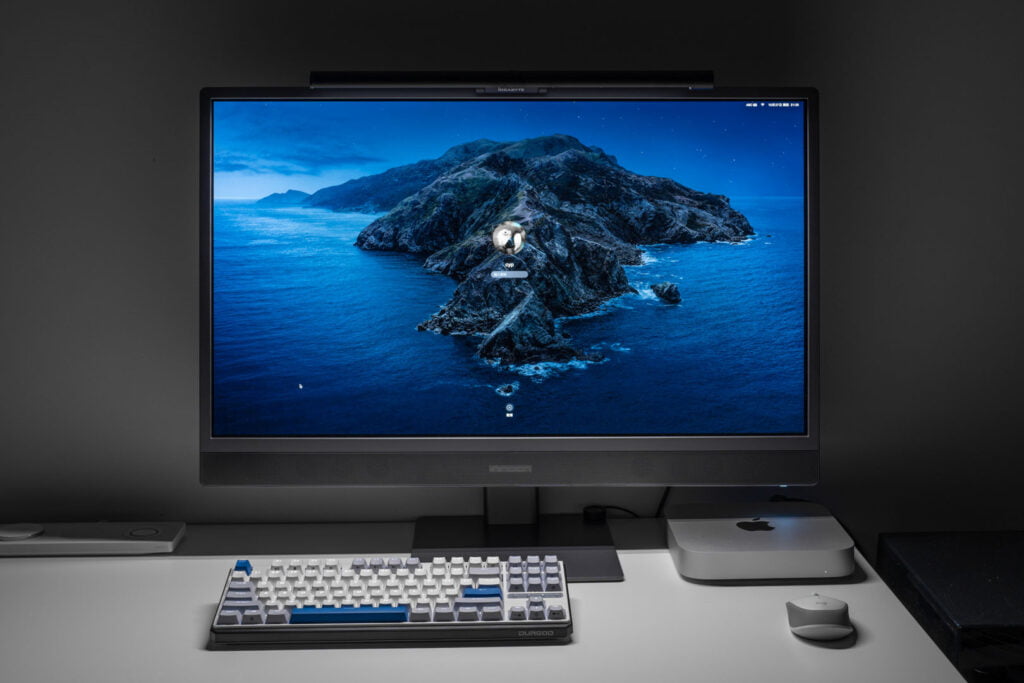
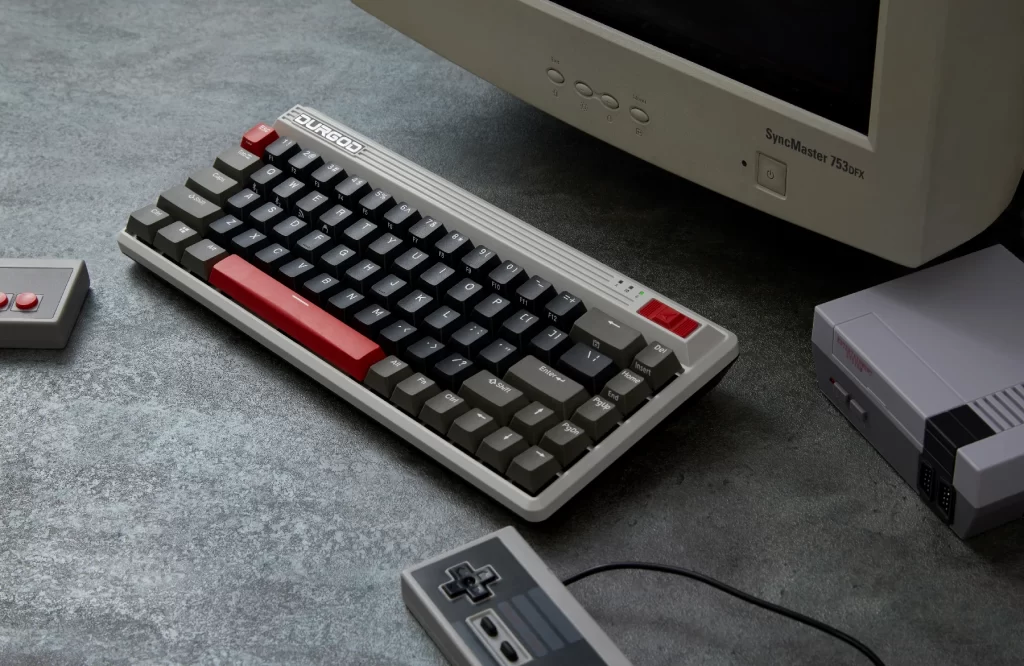
DURGOD mechanical keyboard kit
A mechanical keyboard kit typically includes a case, printed circuit board (PCB), and mounting plate, requiring you to add switches and keycaps separately, as explained on Wikipedia’s mechanical keyboard page. I love the freedom this offers—pairing Gateron Reds for gaming or Browns for typing makes my setup versatile. For beginners, I recommend hot-swap kits like the KBDfans KBD67 Lite ($114) to skip soldering and experiment easily.
Benefits of Custom Building
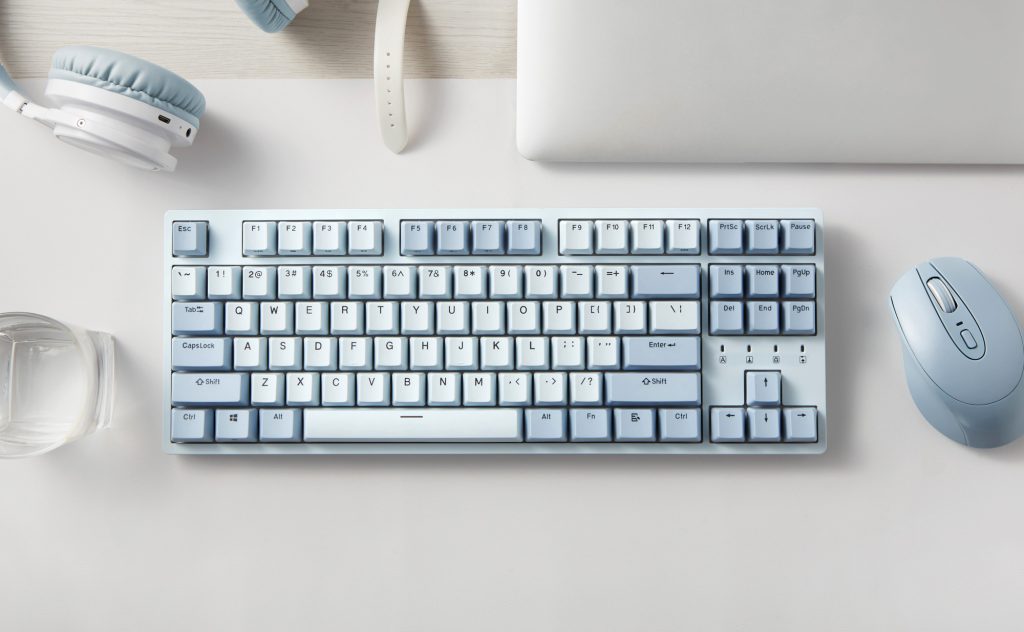
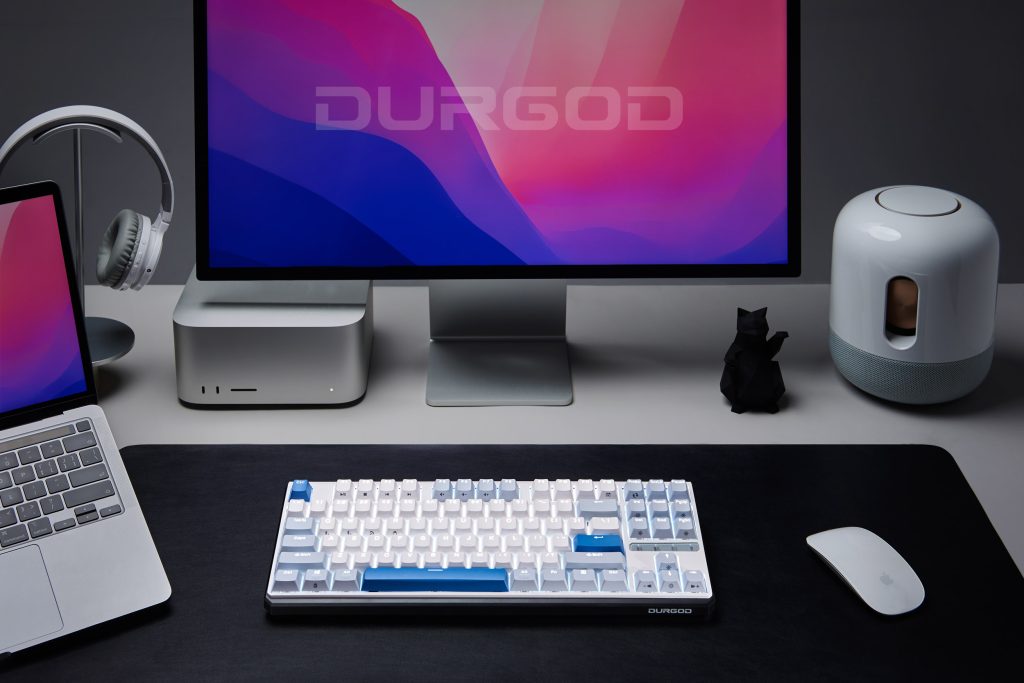
durgod keyboard
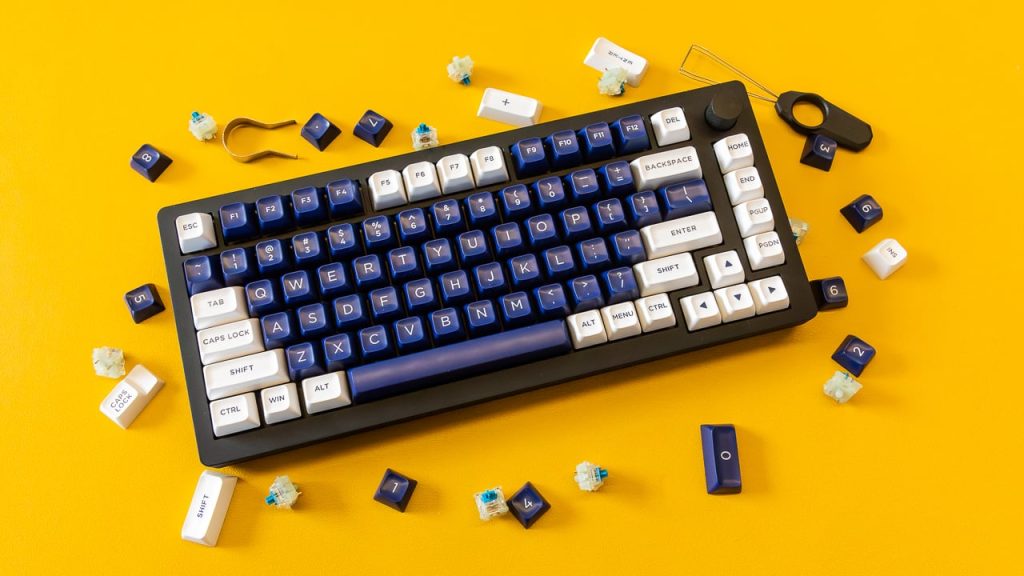
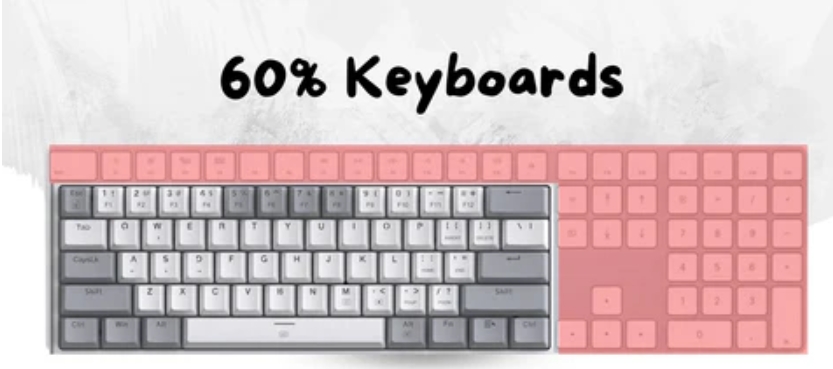
Building your own keyboard lets you tailor every detail, from switch feel to aesthetics. I prefer linear switches for fast-paced games like Valorant, but tactile ones for coding marathons. Kits like the NuPhy Gem80 ($150) offer gasket mounts for a softer typing experience, enhancing comfort during long sessions. My tip: Start with a 65% layout for a compact yet functional desk setup, balancing work and gaming needs.
Choosing the Right Mechanical Keyboard Kit
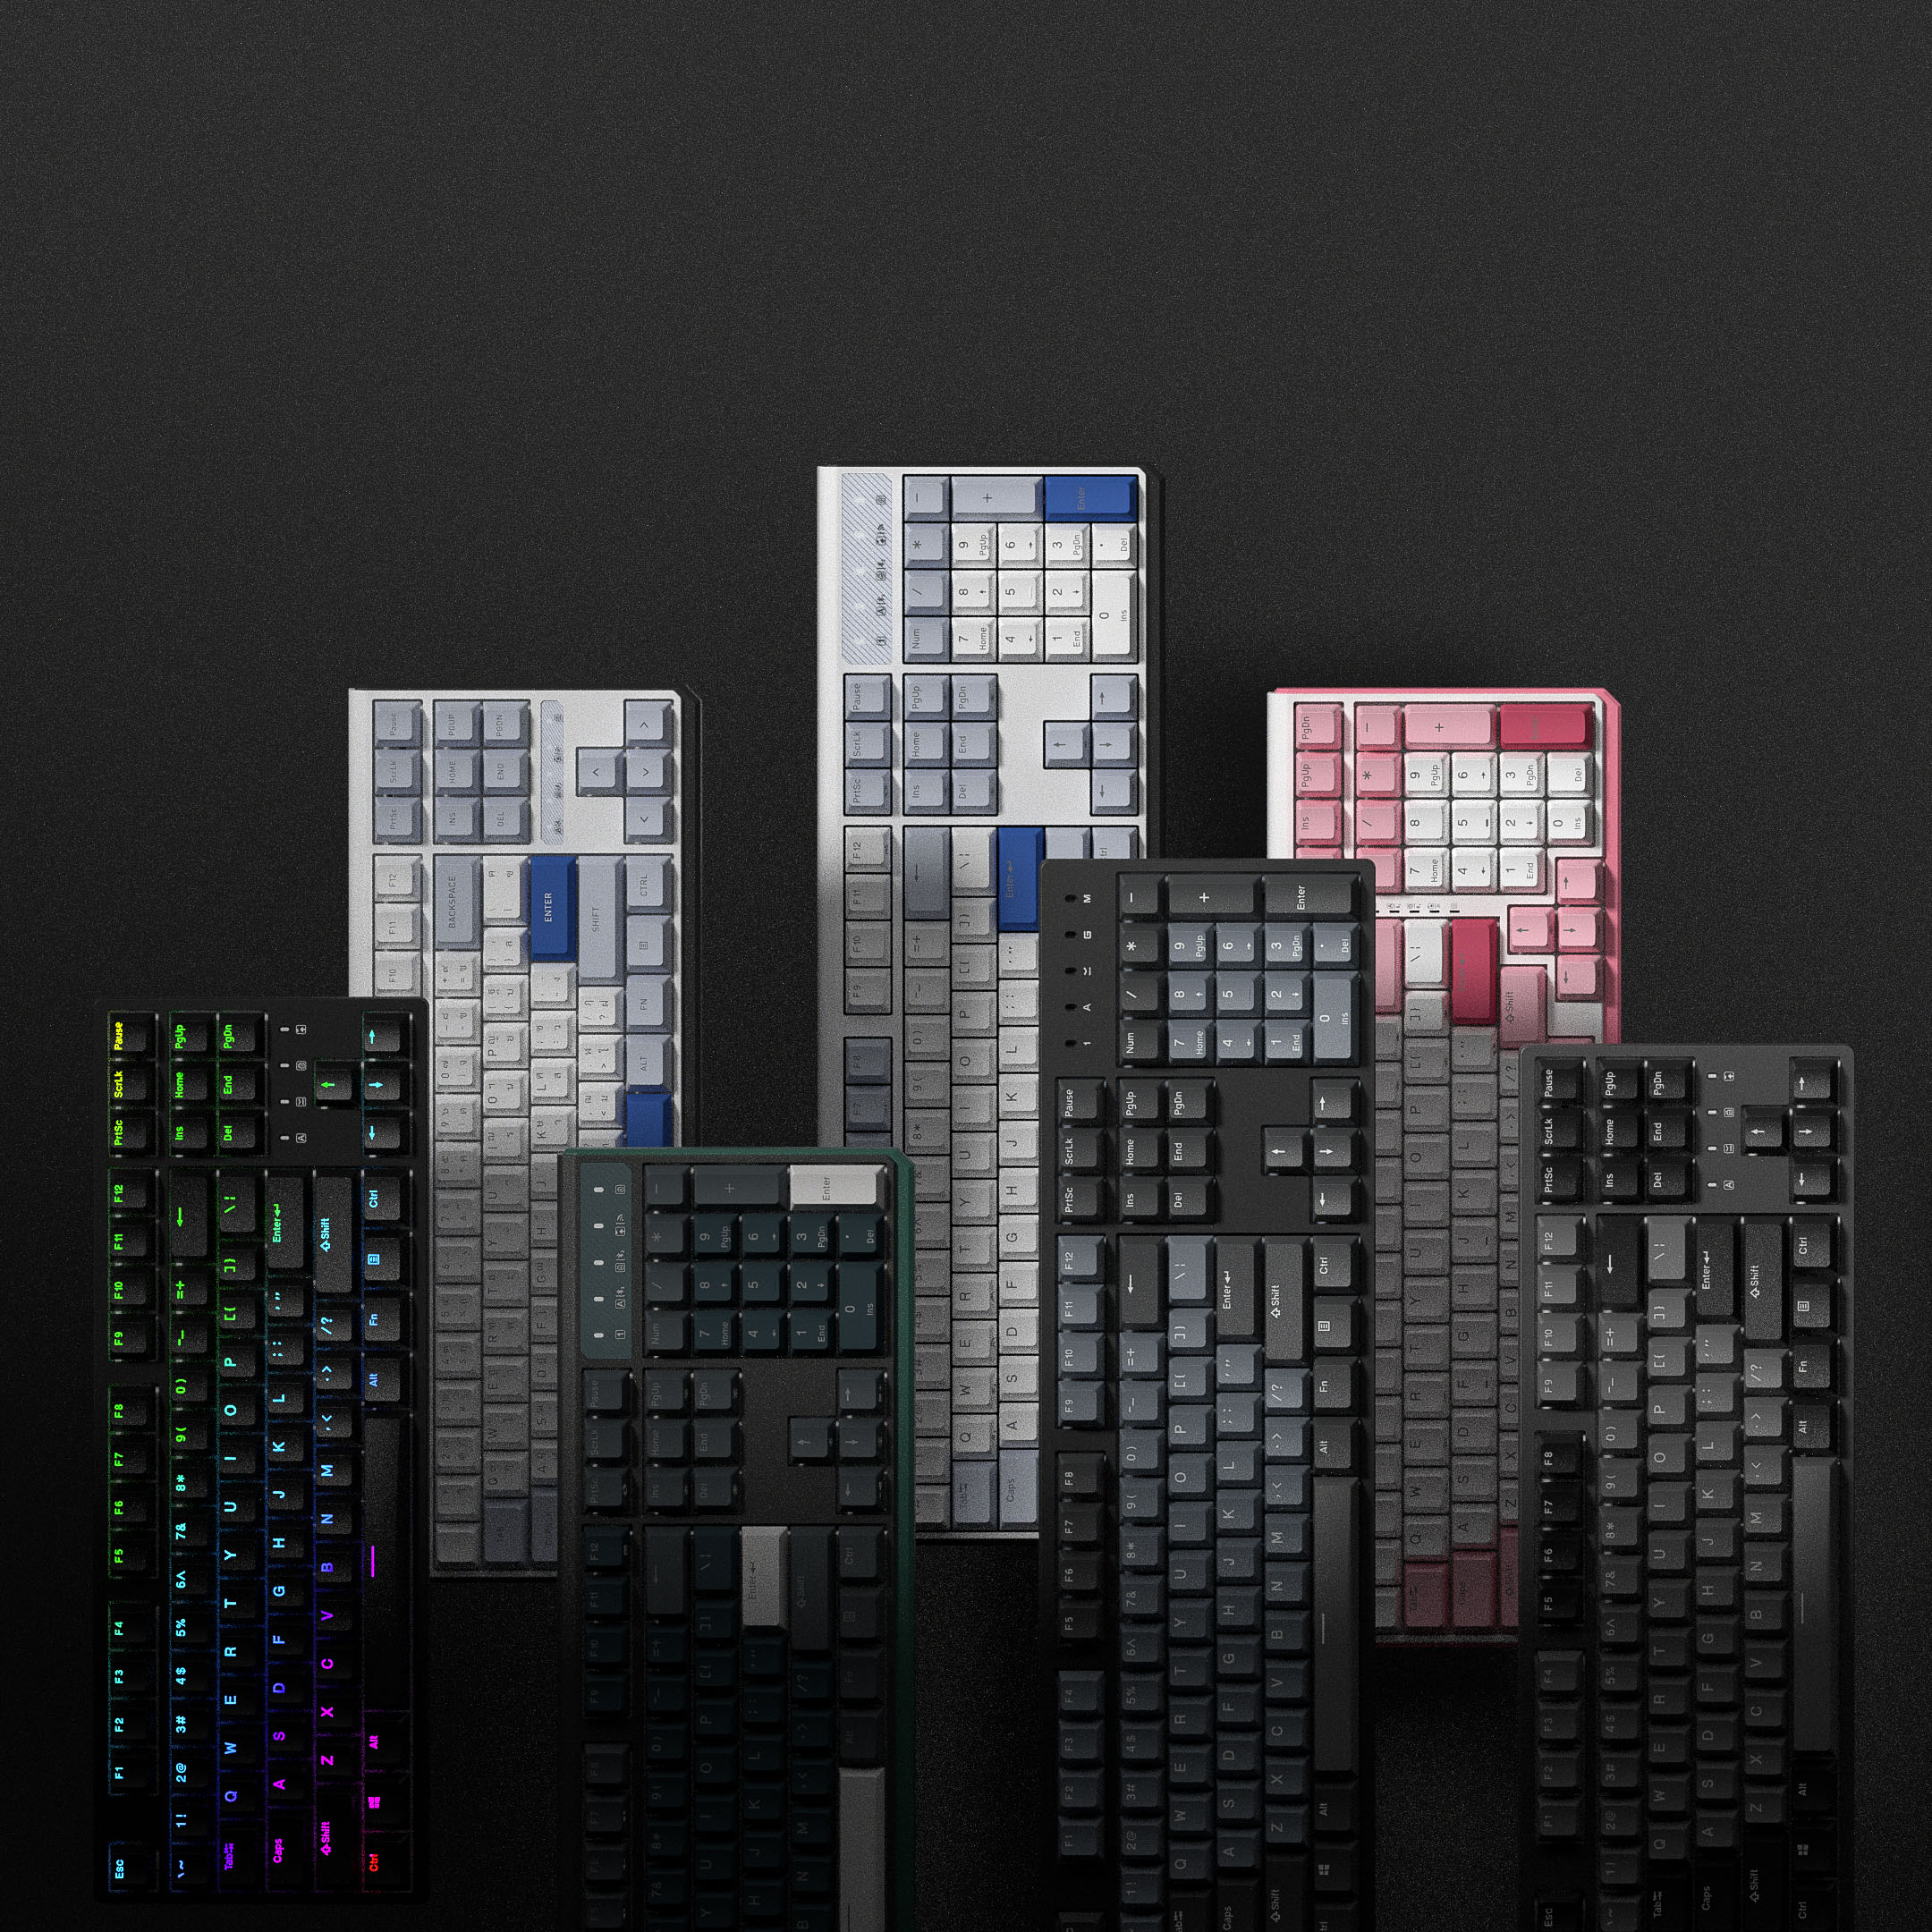
When picking a kit, consider layout (60%, 75%, TKL) and features like hot-swap or QMK/VIA compatibility for custom key mapping. I’m partial to aluminum cases like the Freebird75 ($199) for durability and a premium feel on a budget. Check vendors like KeebsForAll for in-stock options to avoid group buy delays. Always verify plate compatibility with your switches to avoid fit issues.
Assembly Tips for Beginners
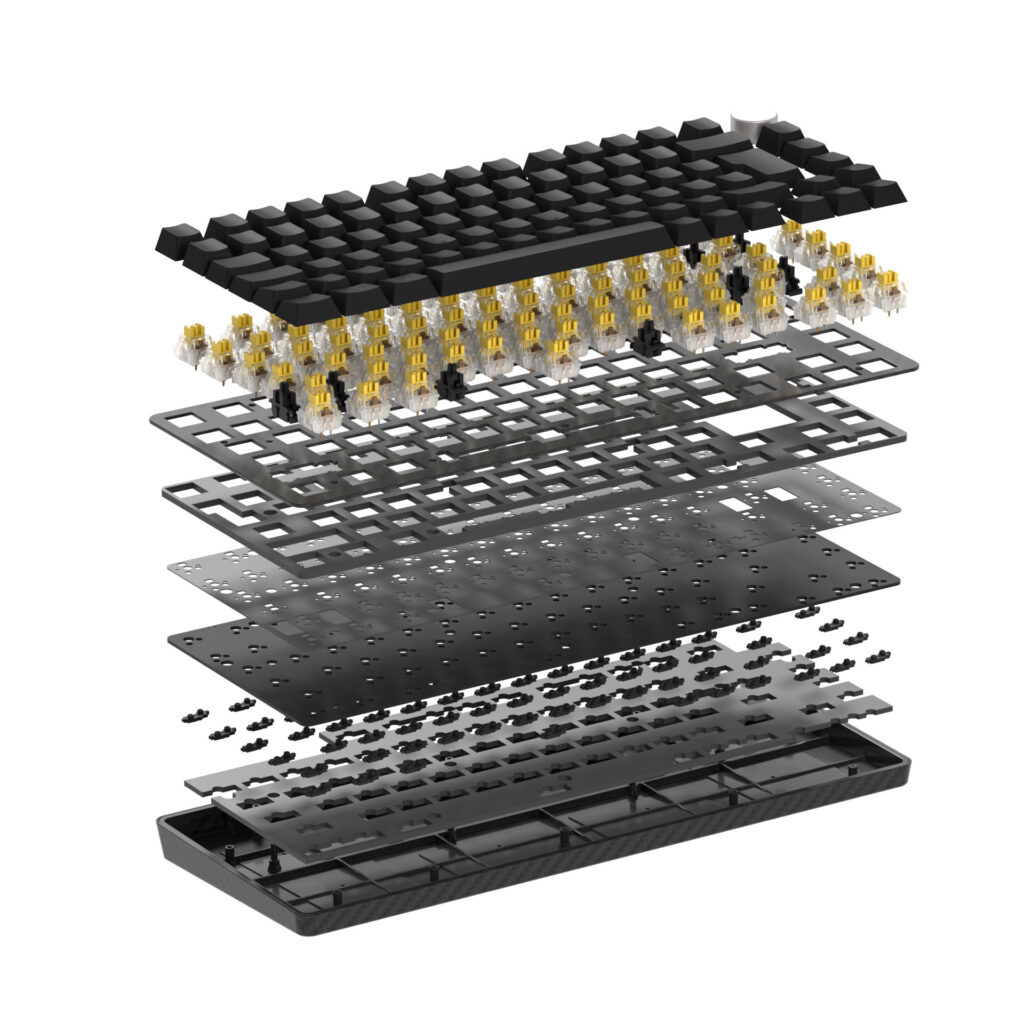
Assembling a mechanical keyboard kit is straightforward with hot-swap PCBs, which I adore for their ease—no soldering needed! You’ll need a screwdriver, switch puller, and keycap puller. I learned to install stabilizers first and add foam for a deeper sound, like on my Bakeneko 60% build. Watch YouTube tutorials for guidance, and don’t rush—my first build took two hours but was pure joy.
Cost-Saving Strategies
Kits range from $80 (GK61XS) to $450 (premium models), but you can save by choosing budget brands like Akko or shopping clearance sales on Etsy. I snagged a $40 keycap set from AliExpress that rivals GMK quality. Reuse switches across builds to cut costs, and avoid group buys unless you’re patient. A mechanical keyboard kit under $150 can deliver pro-level performance if you shop smart.
My obsession with these kits comes from the satisfaction of crafting a tool that feels like an extension of myself. Whether for gaming precision or typing comfort, building one is a rewarding hobby. Dive in and create something uniquely yours.