A Step-by-Step Guide on How to Remove Mechanical Keyboard Switches
In the realm of mechanical keyboards, customization and maintenance are key aspects that attract enthusiasts. Whether you’re looking to swap out switches for a different typing experience or simply need to replace a faulty switch, knowing how to safely remove mechanical keyboard switches is essential. Here’s a detailed guide to help you navigate this process with ease.
Step 1: Gather Your Tools
Before you begin, ensure you have the necessary tools on hand. You’ll need a keycap puller to remove the keycaps and a switch puller if your keyboard has hot-swappable switches. For keyboards that don’t support hot-swapping, a soldering iron and desoldering pump or wick will be required.
Step 2: Remove the Keycaps
Using the keycap puller, carefully remove the keycaps from the switches you plan to replace. Gently insert the puller under the keycap and apply an even upward force. It’s important to proceed with caution to avoid damaging the keycaps or switches.
Step 3: Removing Hot-Swappable Switches
If your keyboard supports hot-swappable switches, you’re in luck, as this process is straightforward and requires no soldering. Simply use the switch puller to grip the sides of the switch firmly and pull straight up with steady pressure. The switch should come out of the socket without much resistance.
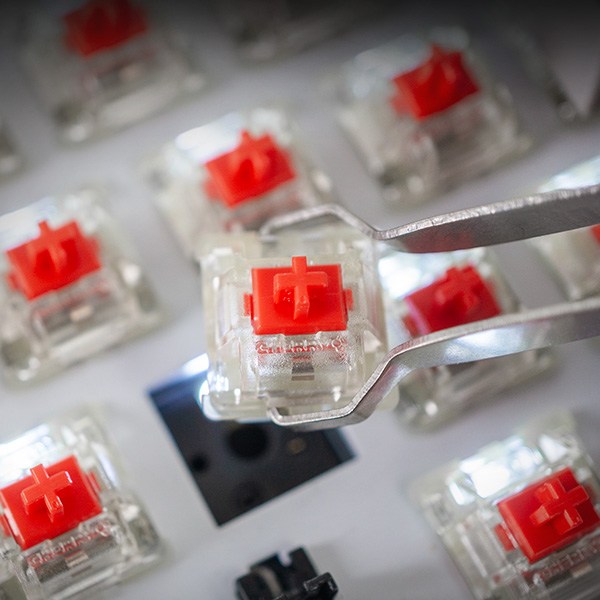
Step 4: Desoldering Fixed Switches
For keyboards without hot-swappable capabilities, you’ll need to open the keyboard case to access the PCB (Printed Circuit Board). Identify the solder points for the switches you want to remove. Heat each solder joint with the soldering iron and use the desoldering pump or wick to remove the melted solder. Once the solder is cleared, you should be able to gently push the switch out from the PCB.
Step 5: Preparing for New Switches
With the old switches removed, you now have the opportunity to clean the area around the empty slots on the PCB before installing new switches. Ensure there’s no residual solder or debris that might interfere with the installation.
Step 6: Installing New Switches
For hot-swappable keyboards, align the pins of the new switch with the socket on the PCB and press down until the switch is firmly seated. If you’re working with a non-hot-swappable keyboard, you’ll need to solder the new switches in place by heating the solder points and applying new solder to secure the switch.
Removing mechanical keyboard switches might seem daunting at first, but with the right tools and a bit of patience, it’s a task that can significantly enhance your keyboard’s performance and aesthetics. Always remember to work carefully to avoid damaging your keyboard and ensure a successful switch replacement. Whether you’re a seasoned enthusiast or new to the mechanical keyboard community, mastering this skill opens up a world of customization possibilities.