How to replace mechanical keyboard switches? Mastering the Art of Switch Replacement on Your Mechanical Keyboard!
In the world of custom mechanical keyboards, the ability to replace switches is not just a skill but a gateway to a personalized typing experience. Whether you’re seeking a different tactile feel, a quieter sound, or simply need to replace a faulty switch, this guide will walk you through the process of replacing mechanical keyboard switches like a pro.
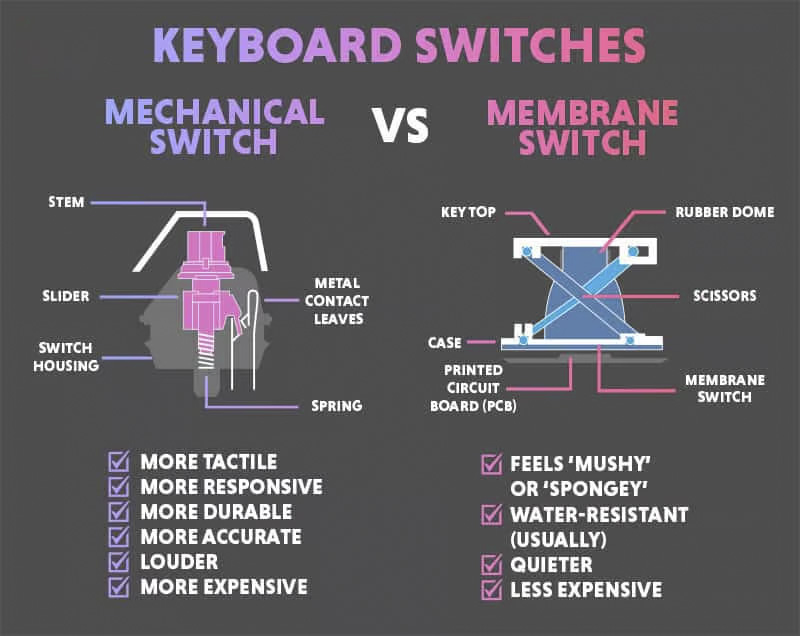
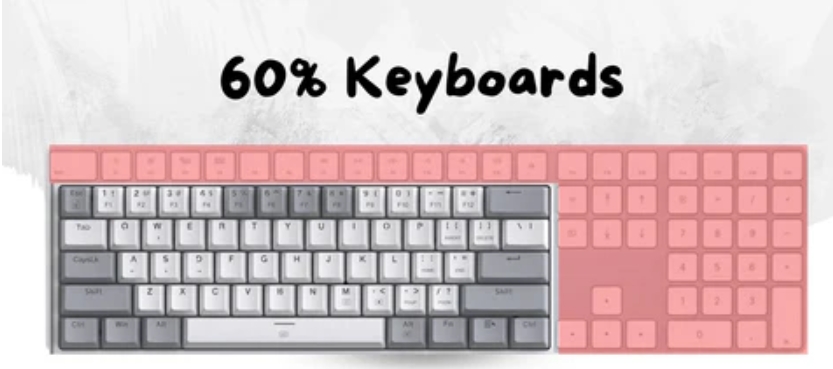
Understanding Your Keyboard’s Compatibility
Before diving into the switch replacement process, it’s crucial to verify whether your keyboard supports hot-swappable switches or requires soldering. Hot-swappable keyboards allow for easy switch replacements without the need for soldering, making them ideal for beginners or those looking for a hassle-free customization option.
Tools You’ll Need
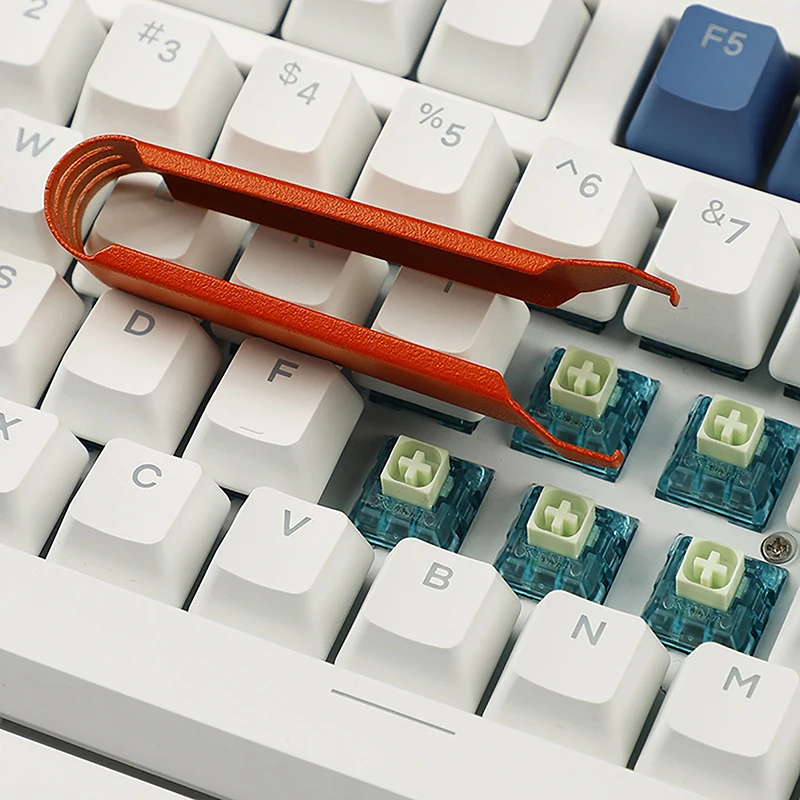
- Keycap Puller: To remove the keycaps safely.
- Switch Puller (for hot-swappable keyboards) or Soldering Iron and Desoldering Tool (for soldered keyboards).
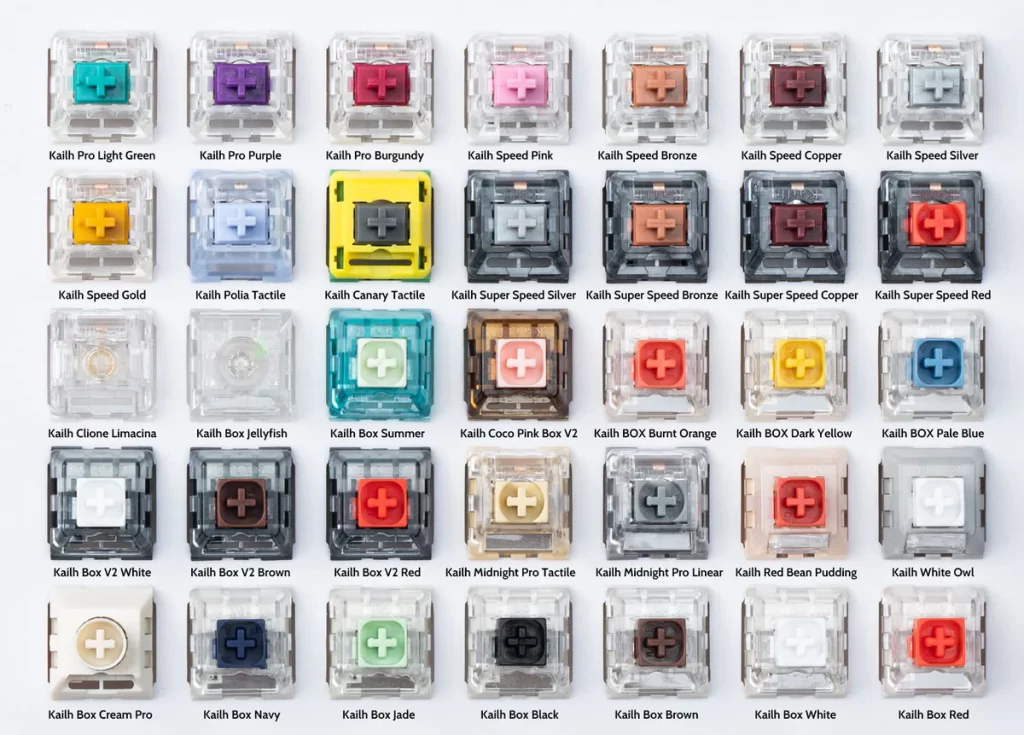
- New Mechanical Switches: Ensure they are compatible with your keyboard’s layout and design.
Step 1: Prepare Your Workspace
Start by unplugging your keyboard and clearing a clean, flat workspace. Organize your tools and the replacement switches within easy reach to streamline the process.
Step 2: Remove the Keycaps
Using the keycap puller, gently remove the keycaps from the switches you plan to replace. It’s good practice to take a photo of your keyboard layout beforehand or place the keycaps to ensure easy reassembly.
Step 3: Removing and Replacing the Switches
- For Hot-Swappable Keyboards: Use the switch puller to carefully remove the old switches. Align the pins of your new switches with the socket on the PCB and press down firmly until the switch snaps into place.
- For Soldered Keyboards: Open the keyboard case to access the PCB. Heat the solder joints of the switch you’re replacing with a soldering iron and use the desoldering tool to remove the melted solder. Once the switch is free, remove it gently. Position the new switch and solder it into place, ensuring a solid connection without excess solder.
Step 4: Reassembling Your Keyboard
Once all the desired switches have been replaced, it’s time to reattach the keycaps. Following the layout you’ve recorded or arranged, press each keycap back onto its corresponding switch until it clicks securely into place.
Enjoy Your Customized Typing Experience
Replacing mechanical keyboard switches might seem daunting at first, but with patience and the right tools, it can significantly enhance your keyboard’s functionality and aesthetics. Whether you’re a gaming enthusiast, a prolific writer, or a coding expert, mastering the switch replacement process allows you to tailor your keyboard to your specific needs, unlocking a new level of performance and satisfaction.