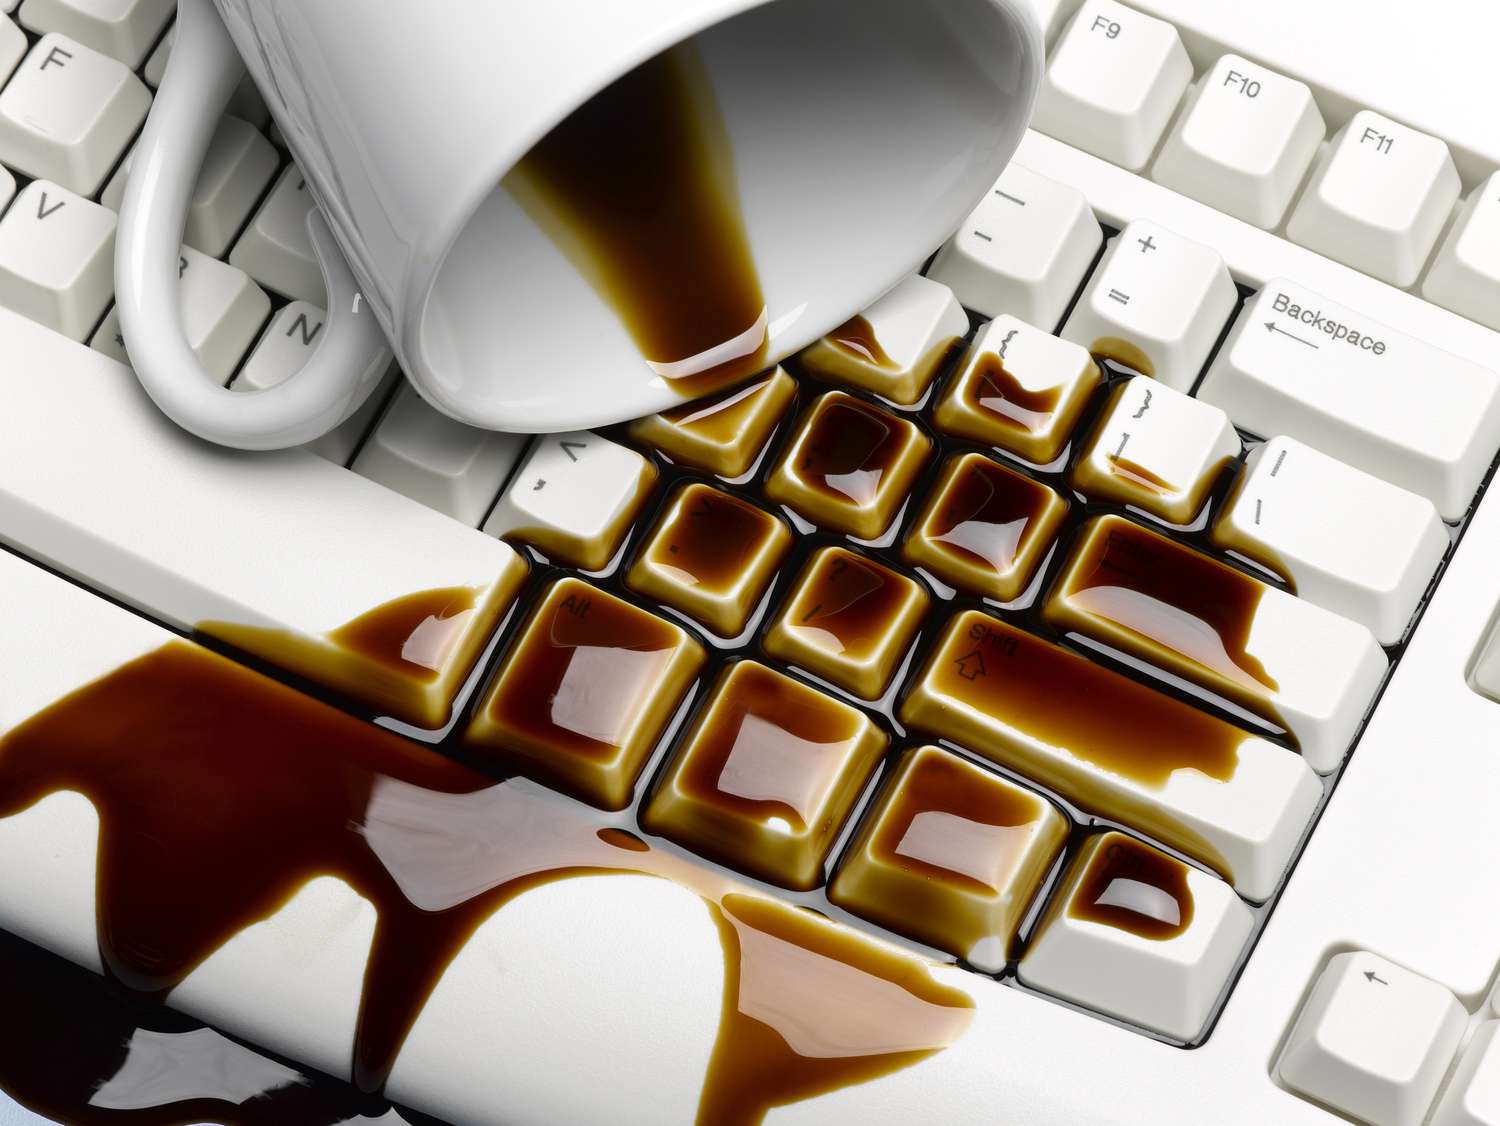
Quick Recovery: What to Do When You Spill Water on Your Mechanical Keyboard
It’s a scenario that strikes fear into the heart of every mechanical keyboard owner: the dreaded water spill. Whether it’s a knocked-over glass or an accidental spill, water can seem like a death sentence for your cherished device. However, with prompt action and the right approach, you can mitigate the damage. Here’s a comprehensive guide to rescuing your mechanical keyboard from a watery mishap. Spilled water on the mechanical keyboard could be a nightmare, but here is the knowledge savior for you.
Immediate Steps to Take
- Power Down Immediately: The first and most crucial step is to disconnect your keyboard. If it’s plugged into your computer, unplug it right away. This reduces the risk of short-circuiting the electronic components.
- Flip and Drain: Gently flip your keyboard upside down to allow as much water as possible to drain out. Avoid shaking or tapping too hard, as this could spread the water further into the keyboard.
- Dry the Surface: With a soft, absorbent cloth, carefully blot (don’t rub) the keyboard to remove surface moisture. Pay special attention to the spaces between the keys.
Deep Cleaning and Drying
- Keycap Removal: If you’re comfortable doing so, remove the keycaps to access the underlying switches. This step is crucial for thorough drying and cleaning. A keycap puller tool is ideal for this job, minimizing the risk of damage.
- Deeper Drying: Once the keycaps are removed, continue the drying process. You can use compressed air to gently blow water out of the switches. Leave the keyboard in a warm, dry place with good airflow. A desk fan can expedite the drying process.
- Isopropyl Alcohol Clean: For stubborn moisture, isopropyl alcohol (at least 90%) can be a lifesaver. It evaporates quickly and can help displace water from the keyboard’s internals. Apply it sparingly with a cotton swab to the affected areas.
Reassembly and Testing
After allowing sufficient time for the keyboard to dry completely—which could take up to 48 hours—it’s time to reassemble. Carefully replace the keycaps, ensuring they are securely fitted.
Before reconnecting your keyboard, ensure it’s completely dry. Once you’ve reconnected it, test each key to verify functionality. If some keys remain unresponsive or behave erratically, further cleaning or professional repair may be necessary.
Prevention Is Key
While it’s possible to rescue a water-damaged mechanical keyboard, prevention is always the best strategy. Keep liquids away from your workspace as much as possible, and consider investing in a waterproof keyboard cover for added protection. Remember, quick action can make all the difference in saving your keyboard from a spill—allowing you to type another day.
Want to learn more? Check DURGOD out.