Keeping a mechanical keyboard in pristine condition requires regular maintenance, particularly when dust, grime, and oils start to impede its performance. This comprehensive guide of mechanical keyboard cleaning explores various cleaning techniques tailored to different levels of soiling, ensuring your keyboard remains both hygienic and functional.
Routine Keyboard Cleaning Tips / Preventive Maintenance
A proactive approach to keyboard cleanliness is crucial, especially for those who snack at their desks. Over time, accumulations on the metal plate beneath the key switches can become problematic.
- Firstly, ensure your keyboard is disconnected.
- Employ a vacuum to remove dust from the plate, using gentle pressure on the keycaps for thorough cleaning. Opt for handheld vacuums, ideally those without rotating brushes.
- Wipe down the keyboard with a lightly dampened microfiber cloth, followed by drying with another cloth. Avoid paper towels to prevent residue and scratches.
Canned air is not recommended due to potential risks like condensation and dust being forced into switches. Vacuum cleaners are preferable for dust removal.
In-Depth Keyboard Cleaning Guide
To address persistent grime and oils, a deeper cleaning is necessary.
- Disconnect your keyboard as a safety measure.
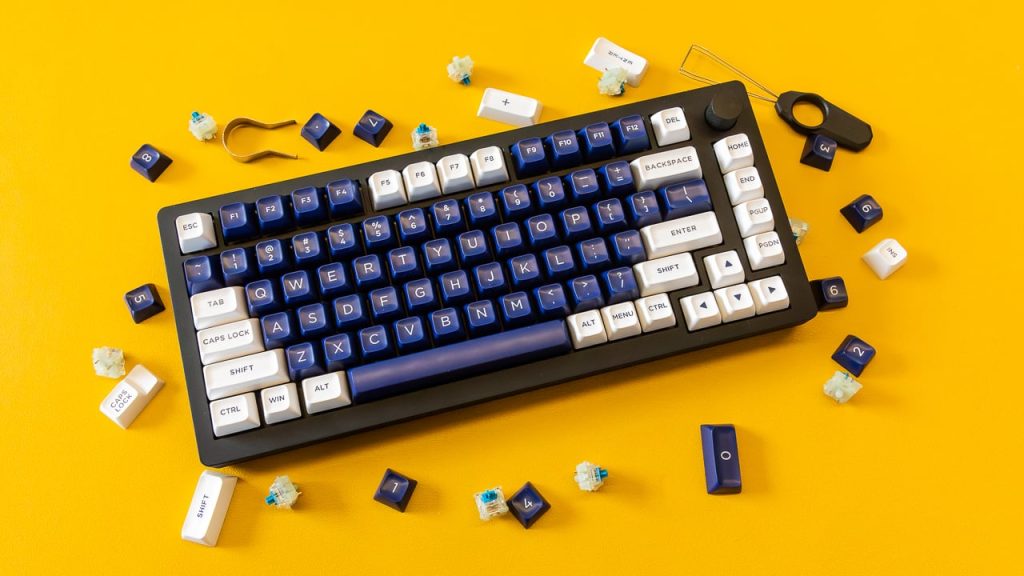
- Remove the keycaps with a keycap puller, paying extra attention to larger keys equipped with stabilizing wires.
- Keycap cleaning can be done with denture tablets or dish soap.
- Soak the keycaps in warm, soapy water or a denture tablet solution for at least 6 hours, then rinse and allow them to air dry.
- While keycaps soak, clean the plate using a small brush or dry Q-tip to dislodge particles, avoiding pushing debris into switch stems.
- Vacuum the plate thoroughly to remove loosened debris. For sticky residues, gently clean with a damp cloth or Q-tip.
- Keep the keyboard face down while keycaps dry to prevent dust from settling.
- Reattach the keycaps once dry, cleaning the keyboard’s exterior with a microfiber cloth.
Comprehensive Cleaning for Heavily Soiled Keyboards / Advanced Cleaning
This level of cleaning is ideal for keyboards needing a thorough overhaul.
- Consider an ultrasonic cleaner for deep cleaning keycaps, or revert to the soaking method if unavailable.
- Carefully open the keyboard case, organizing screws and detaching cables as needed.
- Clean the case halves with a brush and soap for significant dirt, ensuring everything is dry before reassembly.
- Use a brush to clean the plate, avoiding moisture near the switches.
- Reassemble the keyboard after all components are dry, lubricating stabilizers as necessary.
Handling Spills on Mechanical Keyboards
Spills present a significant risk, particularly sugary or flavored liquids.
- If a spill hasn’t critically damaged the switches, you may continue using the keyboard after a thorough cleaning.
- Consider purchasing a new keyboard as a last resort.
- For those adept in soldering, removing all switches for individual cleaning is an option, though time-consuming and potentially warranty-voiding.
Conclusion
Maintaining your mechanical keyboard through regular and comprehensive cleaning ensures its longevity and optimal performance. Whether facing light dust or challenging grime, these strategies offer a path to a cleaner, more reliable keyboard. Always prioritize careful handling to avoid damage during the cleaning process.
For more knowledge of mechanical keyboards, visit DURGOD.


