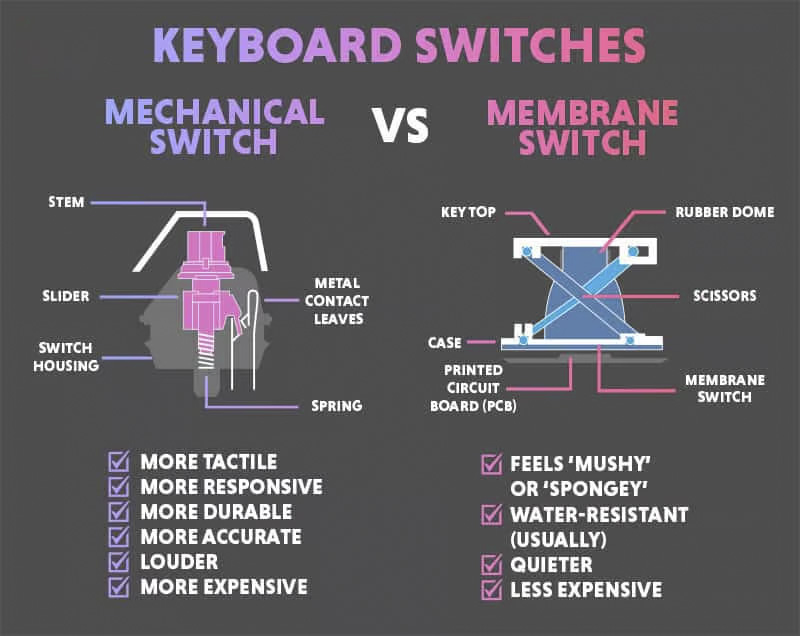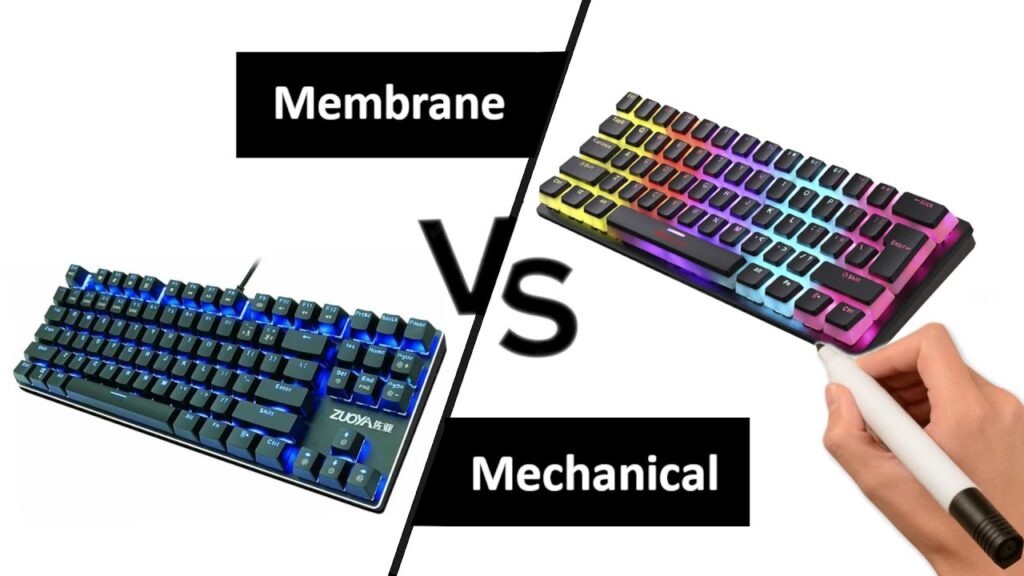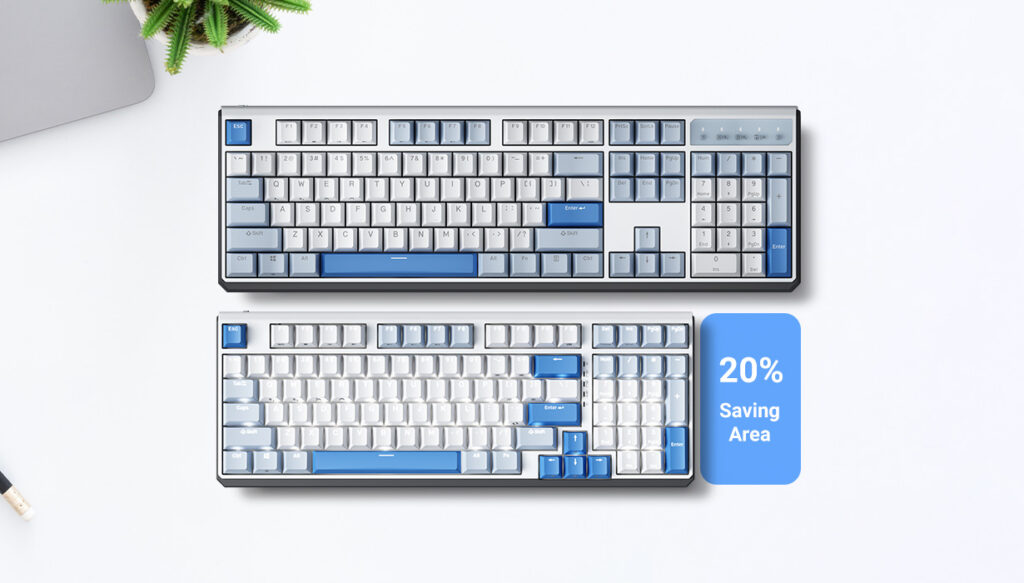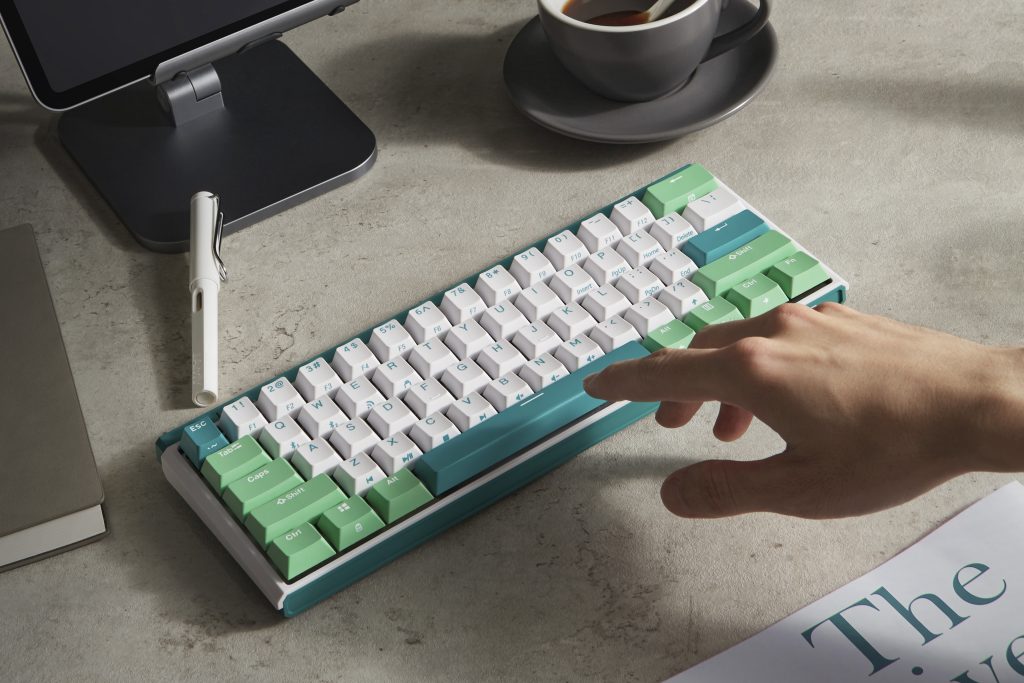
How to Clean Mechanical Keyboard Switches? It’s a normal yet complicated problem for a daily mechanical keyboard user. Cleaning mechanical keyboard switches is crucial for maintaining their performance and extending their lifespan. Whether you’re a dedicated gamer, a prolific writer, or a coding professional, a clean mechanical keyboard can significantly enhance your typing experience. Here’s a comprehensive guide to keeping your mechanical switches in top-notch condition.
Step 1: Preparation
Begin by unplugging your keyboard to ensure safety and prevent any electrical damage. Gather your cleaning tools: a keycap puller, compressed air, a soft brush, isopropyl alcohol, and cotton swabs.
Step 2: Remove Keycaps
Use the keycap puller to carefully remove the keycaps from your keyboard. This tool is designed to safely detach keycaps without damaging the switches or keycaps themselves.
Step 3: Clean the Keycaps
Once removed, soak the keycaps in a solution of warm water and mild dish soap. Let them sit for a few hours to loosen any dirt and grime. After soaking, gently scrub them with a soft brush and rinse with clean water. Let them dry completely before reattaching them to the keyboard.
Step 4: Dusting the Keyboard
With the keycaps removed, use compressed air to blow away any dust or debris from the surface and between the switches. A soft brush can also be used to gently remove dust particles. This step is crucial for preventing buildup that can affect the keyboard’s functionality.
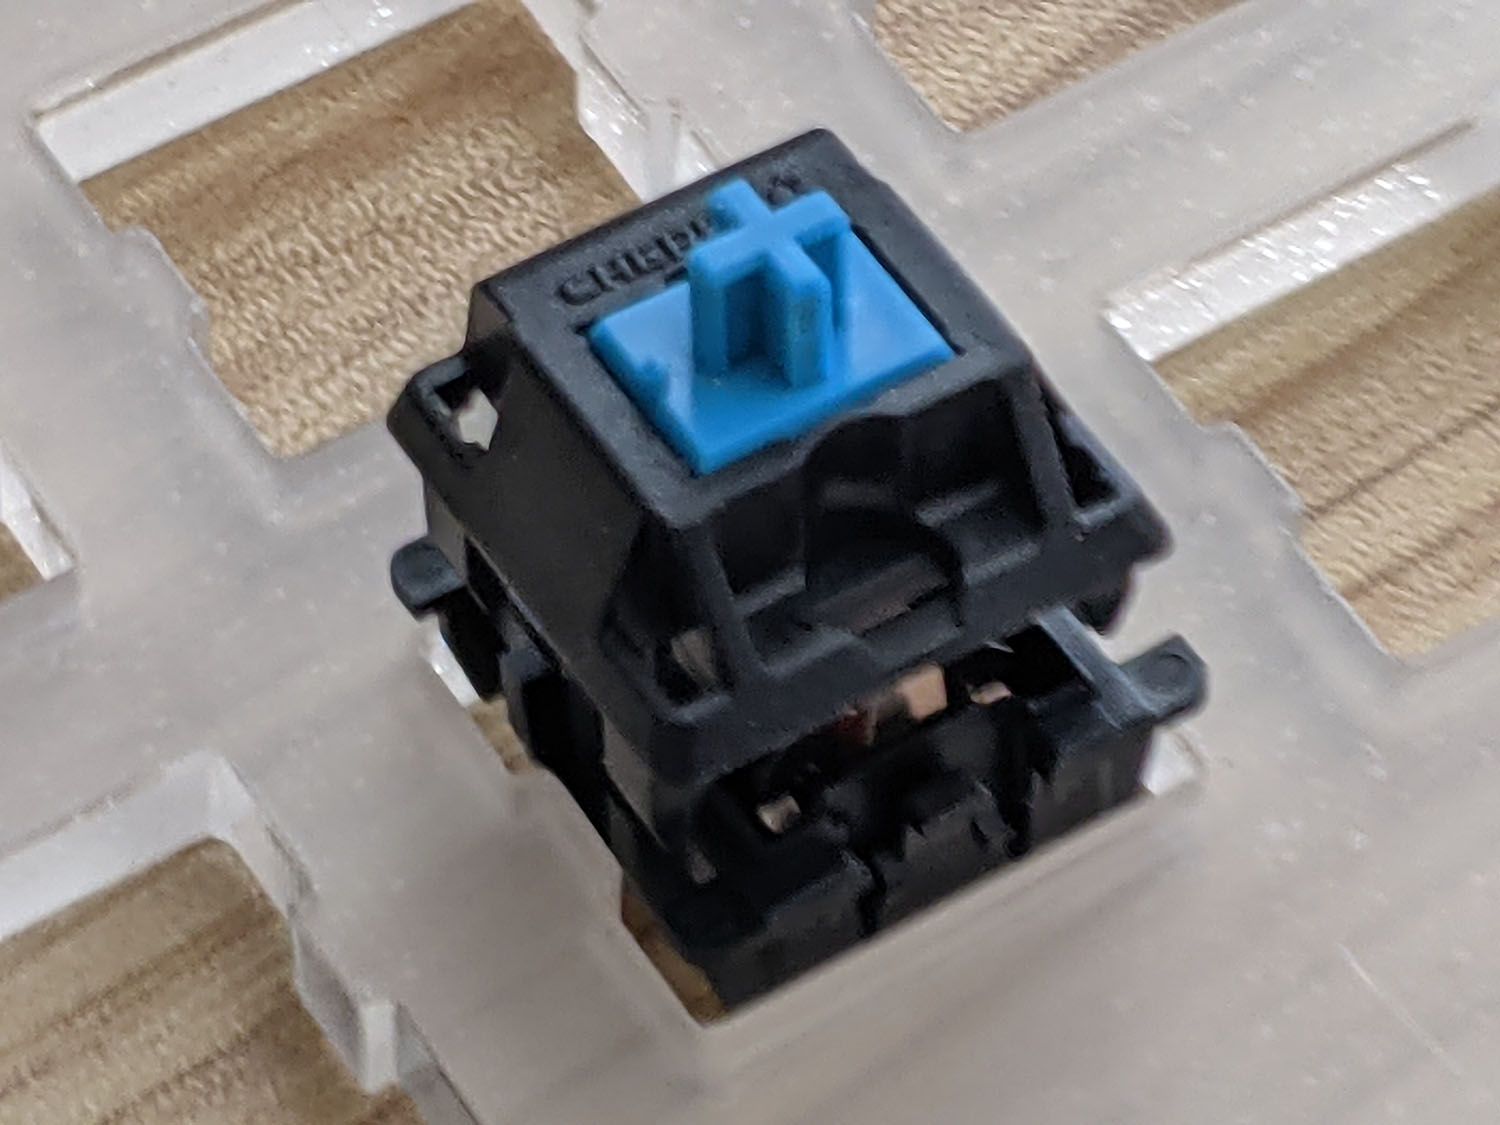
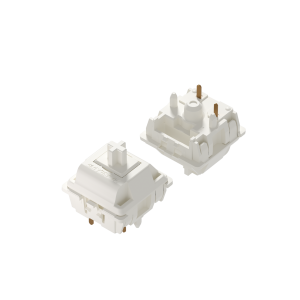
Step 5: Cleaning the Switches
Dip a cotton swab in isopropyl alcohol and gently clean around the switches. Be careful not to apply too much pressure or allow the alcohol to seep into the switches, as this could damage the internal components. Isopropyl alcohol evaporates quickly, reducing the risk of moisture damage.
Step 6: Reassembling the Keyboard
Once the keycaps are dry and the keyboard is clean, carefully reattach the keycaps to their respective switches. Ensure they are firmly pressed down to avoid any loose keycaps that could affect typing.
Regular Maintenance
Incorporate these cleaning steps into your regular maintenance routine to ensure your mechanical keyboard remains in excellent condition. Regular cleaning not only extends the lifespan of your keyboard but also provides a more pleasant and efficient typing experience.
By following this guide, you’ll ensure that your mechanical keyboard remains a reliable companion for your gaming sessions, writing projects, or coding endeavors. Remember, a clean keyboard is a happy keyboard!
Except for “How to Clean Mechanical Keyboard Switches?”, want more knowledge of the vast world of mechanical keyboards?
Stay tuned for more at DURGOD.